

DIAGBOX 9.68 / 9.91 / 9.96 / 9.125 / 9.129, all PSA + OPEL vehicles up to 2022
Find out how to install DIAGBOX 9.68 to 9.129 on VMware with our detailed guide. This page offers you a clear and simple step-by-step to configure your virtual environment and install the different versions of DIAGBOX. You'll learn the essential steps, from creating the virtual machine to installing the software, including system prerequisites and recommended settings. Follow our instructions to ensure successful installation of DIAGBOX, the essential tool for diagnosing and maintaining your vehicle. Optimize your user experience with our reliable and practical guide.
System compatible Bits 64 only: Windows 7, Windows 8, Windows 10, Windows 11, Mac OS, Linux.
Make sure your computer supports virtualization.
Minimum configuration: Dual Core Processor with Virtualization (i3/i5 recommended), 3GB RAM (4GB+ recommended), 20GB Hard Disk
>> Click here to access the PSA Diagnostic Kit sheet
>> Click here to access only the PSA diagnostic software sheet
 |
 |
 |
 |
|
|
Diagbox Installation Instructions:
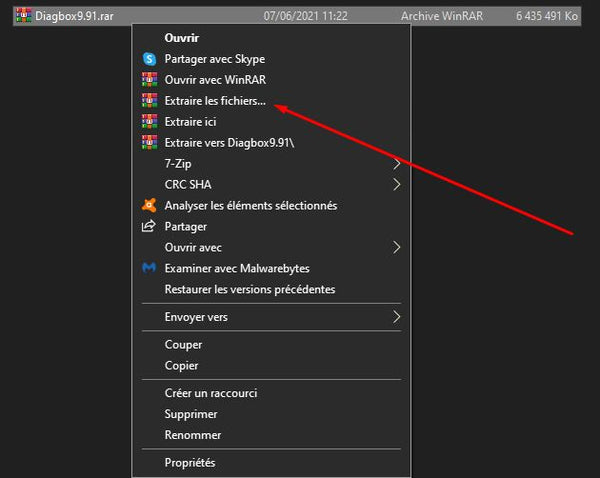
Once the archive Diagbox (VMware) downloaded, you must extract (unzip) all its contents on your computer using the software WinRAR. Ideally, you can create a PSA folder in the C:\ drive to find everything in one place.
It is imperative not to open the software still in the archive, it will not work.
First, you will install the VMware Workstation Player software..
Download VMware 17 for Windows 8, 10, 11 and Linux
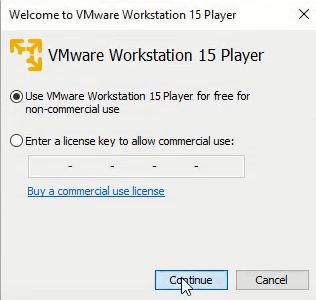
Or VMware 15 for Windows 7
VMware Workstation Player will allow you to simulate the computer of DIAGBOX diagnosis.
The installation is identical or very close between version 15, 16 or 17.
.


Remember to check the “Enhanced Keyboard Driver” box to optimize keyboard feature support.

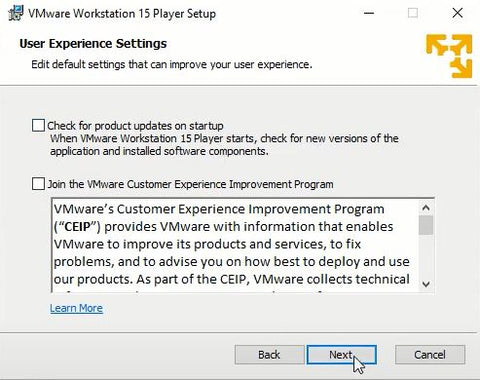
Then uncheck the following two boxes: “Check for product updates on startup” and “Join the WMware customer experience”.
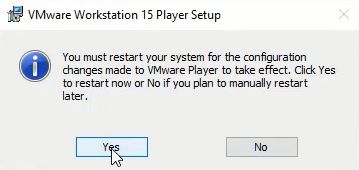
Complete the installation then choose to restart your computer.
To be able to start DIAGBOX from your desktop, do the following:
Once the computer restarts, go back to the PSA folder and create a desktop shortcut of the "VM_Diagbox_9.91.vmx" by Right Clicking > Send To > Desktop (Creates a shortcut)
Open this new shortcut on your desktop.
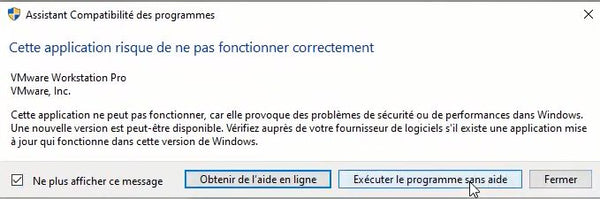
If you get a message saying “This app may not work properly”, tap on “Run the program without help”
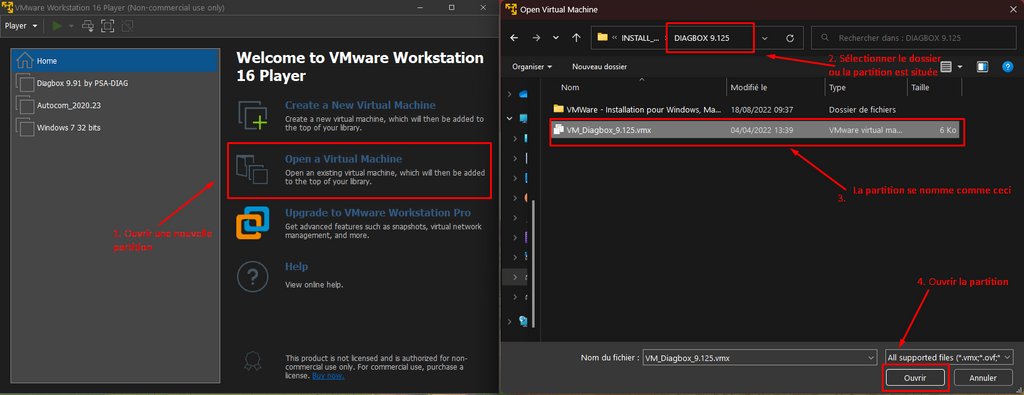
The VMware software launches, click on OPEN A VIRTUAL MARCHINE.
Locate your previously extracted DIAGBOX 9.XX folder.
Open "VM_Diagbox_9.XXX.vmx" (VMX file only).
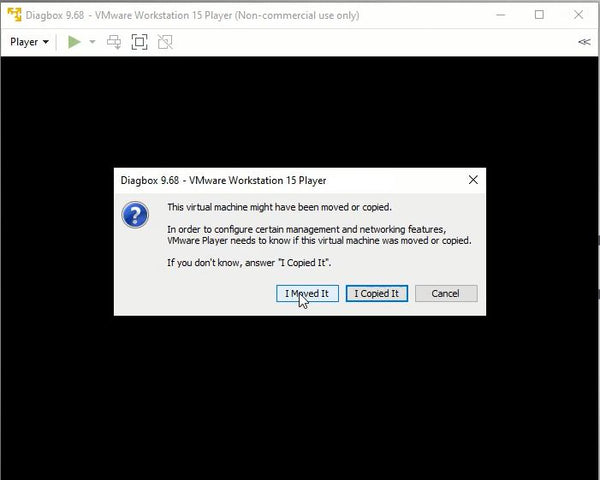
The score launches.
Choose the option I Moved It » to transfer software activation.
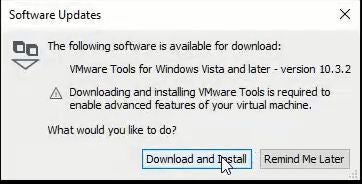
Install WMWare Tools updates if requested to support mouse drivers, keyboards, etc.
Once on the new desktop, plug in your Diagbox interface to your PC.
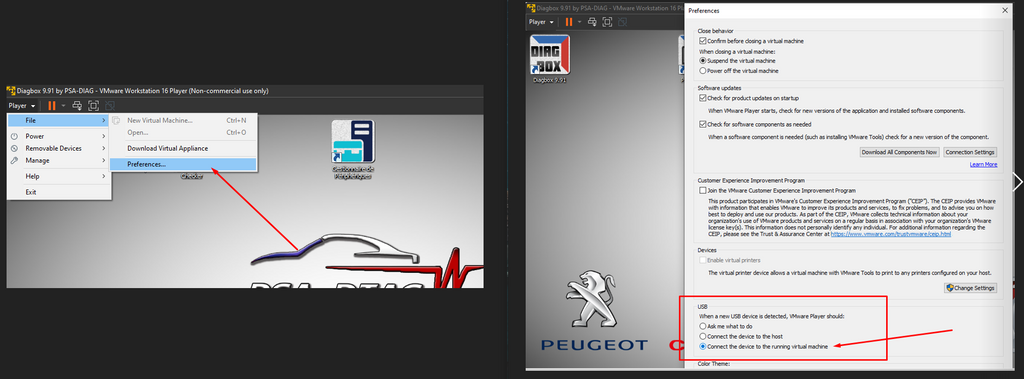
The computer automatically recognizes the probe and displays a message asking you if you wish to connect this device to the host (your PC) or to the VM (Diagbox), you will therefore have to choose “ Virtual Machine » otherwise it will not work, you can also check the “Remember my choice” box for the following times before validating.


You can now run Diagbox !
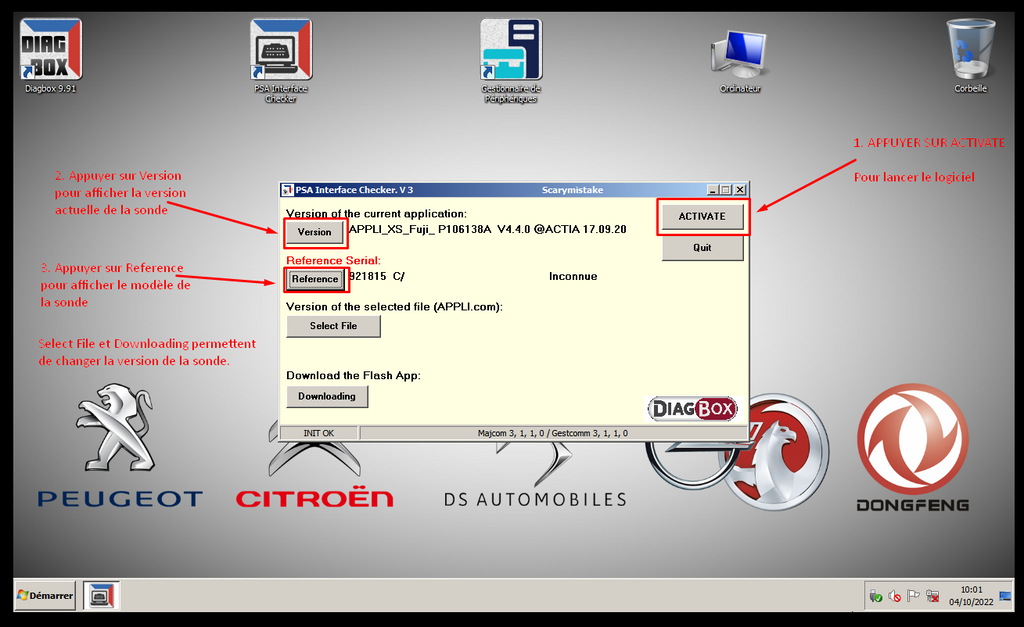
Thanks to the software PSA Interface Checker you can update your transducer software to make it compatible with the latest versions provided.
Required condition :
Enable virtualization on your PC if this message appears:

-> How to enable virtualization?

